Learn
Duty to Mitigate After Storm Damage: What Insurers Expect From Homeowners
The storm is over, the roof is leaking, and your policy says you have a "duty to mitigate." Here's what that phrase actually means on a claim file — and how to do it without creating a new problem.
What "Duty to Mitigate" Means in Plain English
I've worked storm claims as a fully independent licensed adjuster for 16 years, and I've seen them from both sides. Almost every homeowners policy requires you to take reasonable steps to protect the property after a loss. That's the duty to mitigate: stop further damage when you can do it safely, keep a record of what you spent, and don't leave an open hole to the weather while you wait for a callback.
It does not mean rebuild the roof before the inspection, and it does not mean hire the first emergency crew that knocks at midnight and sign whatever they hand you. Mitigation is about preventing additional loss — water that spreads, mold that starts, contents that get ruined — not about fixing the original storm damage yourself.
If you're still in the first day or two after the storm, pair this with what to do in the first 48 hours after roof storm damage. The sequence matters as much as the checklist.
What Carriers Actually Expect
When I open a file, I'm looking for a short, boring story: the storm hit, the homeowner noticed a leak or missing shingles, they put a tarp on the worst spot (or hired someone who did), they moved belongings out of the water's path, and they kept the receipts. That tells me the property was protected and the evidence is still there to inspect.
Here's what "reasonable" usually looks like after hail or wind:
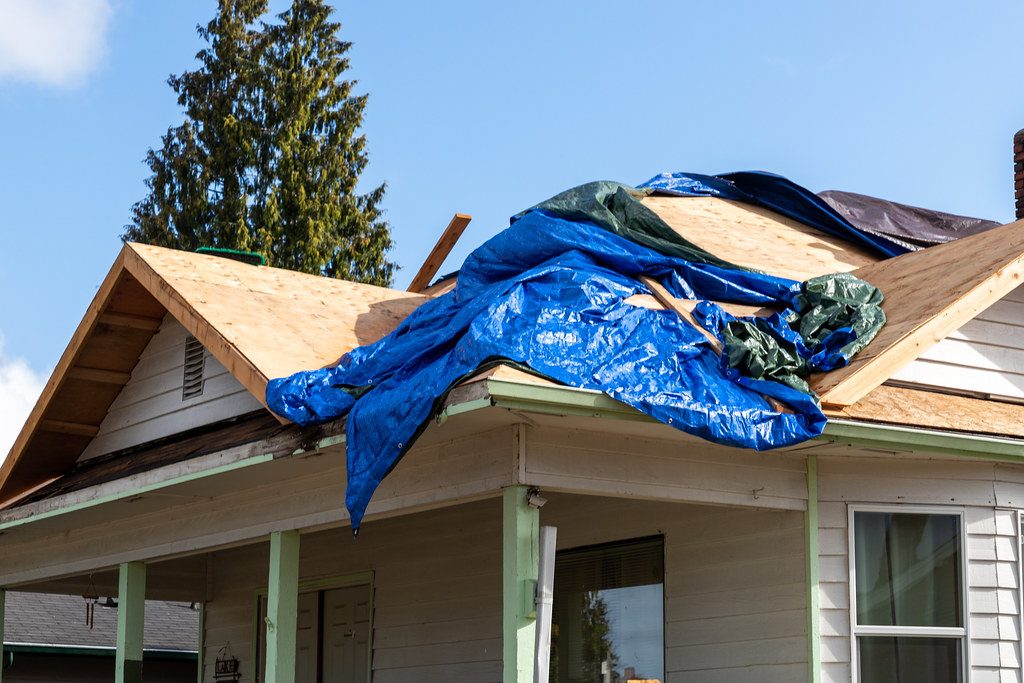
- Cover open holes and lifted areas. A tarp, temporary roof covering, or boarded openings over active leaks. Only get on a roof if it's safe; if it isn't, hire someone who does this for a living.
- Stop water inside the house. Buckets, plastic sheeting, fans where it makes sense, and belongings moved out of the wet zone. Don't throw wet items away without photographing them first.
- Keep every receipt. Tarps, emergency labor, dehumidifier rental, plywood, even the trip to the hardware store. Most policies cover reasonable mitigation costs when you can show what you spent and why.
- Leave the storm evidence in place. Don't strip damaged shingles to "see how bad it is," don't replace the whole roof before the inspection, and don't discard dented gutters or screens. Those pieces matter for reading whether hail damage is covered.
- Tell the carrier what you did. On the filing call and in follow-up emails: dated photos of the temporary repair, who did it, and the cost.
That's the bar most carriers are actually measuring you against — not a contractor-grade rebuild, and not a perfect DIY seal.
How Failure-to-Mitigate Gets Used Against Claims
Carriers don't usually deny an entire roof claim solely because you waited a weekend for a tarp. What they do more often is carve out the secondary damage: the ceiling that collapsed three weeks later, the mold in the attic, the soaked insulation, the warped flooring downstairs. The argument is that those losses came from unprotected openings after the storm, not from the storm itself.
I've also seen the phrase used when a homeowner left a known active leak untouched for months, or tore off large sections of roofing and then blamed later rain on the storm. The original storm damage may still be covered — the extra loss is where the fight starts. If a claim has already been denied or cut back for this reason, read why roof claims get denied and what to do next after a denial.
The cleanest defense is a dated paper trail: before-and-after photos, receipts, and a short note of when you acted. You don't need a lawyer's brief — you need a timeline that shows you acted like a reasonable homeowner.
Reasonable vs. Overkill
This is where homeowners get burned from both directions. Do too little, and secondary damage gets blamed on you. Do too much — or pay the wrong people — and the carrier calls the cost unreasonable or says you destroyed the evidence.
Usually reasonable: a temporary tarp or covering over active leaks; plywood over a blown-out opening; moving contents out of the wet zone; a short equipment rental to dry a room; an emergency call to a reputable local roofer for temporary protection; documenting everything before permanent work starts.
Usually overkill before the inspection: a full roof tear-off and replacement; signing an assignment-of-benefits form on the porch the night of the storm; a massive emergency dry-out bill for a single ceiling stain with no starting photos; throwing away materials the adjuster still needs to see; "mitigation" that quietly becomes a remodel.
A useful test I use on files: would a careful neighbor have done this to keep the house from getting worse, or does it look like someone jumped straight to the permanent repair? Temporary protection passes. Permanent replacement before anyone inspects usually doesn't — and it erases the evidence the claim rests on.
How to Document Mitigation So It Holds Up
Documentation is what separates "I mitigated" from "prove it." Keep it simple and dated:
- Before photos. The open hole, the wet ceiling, the lifted shingles — taken before you cover or move anything. Use the same method as our storm damage photo guide: wide shots for context, close-ups for detail, and a date stamp or phone metadata you don't strip later.
- After photos. The tarp on the roof, the plastic on the floor, the belongings moved to a dry room. Same day if you can.
- A one-page mitigation log. Date, what you did, who did it (you, a neighbor, a contractor), and the cost. One line per action is enough.
- Receipts and invoices. Keep originals or clear photos. If a contractor did emergency work, get a written description that says "temporary protection" or "emergency tarp," not a vague "roof repair."
- Written notice to the carrier. Email your claim number with a short summary and the photos attached. Phone calls disappear; emails don't.
When the field adjuster arrives, have that packet ready. It answers half the questions before they're asked. For the inspection itself, see how to prepare when the insurance adjuster is coming.
A Practical Sequence After the Storm
If you want one order of operations, use this:
- Make sure everyone is safe. Don't climb a wet or steep roof in the dark.
- Photograph the damage from the ground and any safe interior views.
- Stop active water: tarp or temporary cover, buckets, move belongings.
- Save receipts and start the one-page log.
- File the claim promptly and tell them what emergency steps you took.
- Leave storm evidence in place until the inspection unless leaving it causes more damage.
- Send the carrier your photos and receipts in writing.
That sequence protects the house and the claim at the same time. Policies and states differ on wording and deadlines, so read your own declarations and conditions. If the policy language is dense, decoding your homeowners policy for a roof claim will help you find the duties sections.
This article is general education about how claims typically work. Every policy, carrier, and state is different, and nothing here is legal advice or a promise about how your claim will turn out.
Need the full mitigation checklist and log?
The Emergency Mitigation Guide ($17) walks the first hours after property damage: what the duty to mitigate requires, how to tarp and dry out without destroying evidence, the mitigation log adjusters respect, and how reasonable emergency costs get claimed for reimbursement.