Learn
How to File a Roof Insurance Claim: Step-by-Step for First-Timers
The call that opens your claim sets the tone for everything after it. Here's the sequence from first notice of loss to claim number in hand, written from the adjuster's side of the file, with what to say and what to leave out.
Filing Is the Easy Part, and the Easiest Part to Mess Up
I've worked storm claims as a fully independent licensed adjuster for 16 years, and I've seen them from both sides. Here's something most homeowners never realize: by the time I show up to walk your roof, I've already read your file. The first thing in that file is the note from your filing call. The call itself takes ten or fifteen minutes, but what gets typed into the system during those minutes follows the claim all the way through. So does everyone who touches the claim after me.
So the goal isn't to "win" the call. It's to start the file clean: clear facts, a clear date, and nothing in there you'll have to walk back later. This guide takes you through it in order.
One note on timing. Most policies require you to report damage "promptly" without naming a set number of days, and some carriers and states have hard deadlines on top of that. Check your policy, but in practice sooner is better. The longer you wait, the more room there is to question whether the damage got worse after the storm or came from something else. If you know the roof is damaged, file now instead of watching it for a month.
Before You Call: Get These Together
You don't need a perfect file before you pick up the phone, but having these basics in front of you makes the call shorter and the file stronger:
- Your policy number. It's on your declarations page, the short summary at the front of your policy packet.
- Your date of loss. The date the storm hit, as close as you can pin it. Weather records can confirm it later, so give your best honest answer now.
- A one-sentence description. "Wind lifted shingles on the south slope and water is staining the upstairs ceiling" is plenty. Report what you see, not a diagnosis.
- Your photos. If you've already photographed the damage, say that dated photos exist. You'll send them later. If you haven't yet, our guide on how to photograph roof storm damage shows you what to capture from the ground.
- Emergency repairs done or planned. Tarped a hole? Tree still on the roof? The carrier needs to know what changed between the storm and the inspection.
You do not need a contractor's estimate to file. That's one of the most common myths I run into. The claim opens with your report, and estimates come later.
Step 1: Stop Further Damage, Carefully
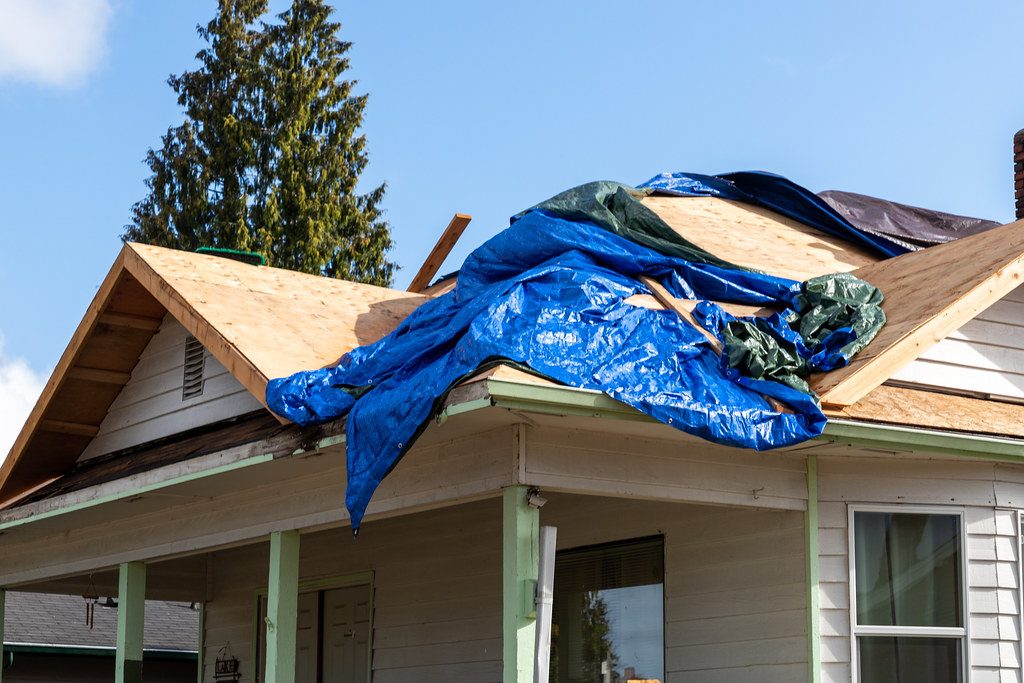
Almost every policy requires you to take reasonable steps to protect the property after a loss. In plain terms: if there's an active leak, get a tarp on it, put buckets down, and move your belongings out of the water's path. Only get on a roof if it's safe to do so, and if it isn't, hire someone who does it for a living.
Two cautions. First, don't do work that changes the evidence. A tarp over a hole is mitigation. Pulling off damaged shingles to "see how bad it is" removes exactly what I need to look at. Second, keep receipts for every emergency expense. Most policies cover reasonable mitigation costs, but only when you can show what you spent. For the full first-two-days rundown, see what to do in the first 48 hours after roof storm damage.
Step 2: Spend Five Minutes With Your Declarations Page
You don't have to read the whole policy before filing, but five minutes with the declarations page pays off. Look for three things:
- Your deductible. Is it a flat dollar amount, or a percentage of your dwelling coverage? Percentage deductibles are common for wind and hail in many states, and they surprise people. A 2% deductible on $300,000 of dwelling coverage is $6,000, not $1,000.
- Wind and hail endorsements. Some policies exclude cosmetic hail damage, limit roof coverage by age, or carry a separate named-storm deductible. Better to know that before the adjuster brings it up.
- How your roof is settled. Replacement cost value (RCV) or actual cash value (ACV) decides how much gets paid and when. If you're not sure what those mean, read recoverable depreciation, ACV vs. RCV, explained before you start planning around a check.
None of this changes how you file. It changes how well you understand what happens after you file, and that's what keeps first-timers from panicking when the first estimate shows up. If the policy language loses you, see decoding your homeowners policy.
Step 3: Give Your First Notice of Loss
Call the claims number on your policy or use the carrier's app or website. Your local agent may be great, but the claim officially starts when the carrier's claims system creates a file, and the carrier's own claims line is the fastest way to get there.
Stick to the basics: the date of loss, the type of storm if you know it, what damage you've seen, and what emergency steps you've taken. "A hailstorm on May 6 damaged shingles on my north and west slopes. I have water staining in one upstairs bedroom, and I put a tarp over the worst spot." That's a complete first notice.
A few things to avoid:
- Don't guess at causes or scope. "I think it needs a whole new roof" is a conclusion, and it's the inspection's job to reach one. Report what you see.
- Don't speculate about the roof's history. Stick to the storm you're reporting. If you're asked about earlier repairs or leaks, answer honestly and briefly, without guessing.
- Don't exaggerate. Plain, factual descriptions hold up better than dramatic ones.
- If a recorded statement comes up, it's fine to schedule it. Ask for a time that works, have your notes in front of you, answer what's asked, and don't guess.
Step 4: Write Down the Details Before You Hang Up
Before the call ends, get these and write them down:
- Your claim number. Every call, letter, and email will reference it. Save it somewhere you'll actually find it.
- Your claim representative's name and direct contact. That's usually a desk adjuster who manages the file from the office. The field adjuster who comes out to the house is often a different person, and on storm claims it's frequently an independent adjuster like me.
- What happens next, and roughly when. When will the field adjuster reach out? Is there a deadline for sending photos or documents? Write down the answers with the date.
Then start a claim log, either a notebook or a notes app on your phone. Every call gets the date, the person's name, and a one-line summary. Six weeks from now, when someone says "we never got that," your log is your answer.
Step 5: Get Ready for the Inspection
The inspection is the most important hour of your claim. Photograph everything before the visit, dated and organized slope by slope. Be there when the adjuster comes, keep your claim log and photos handy, and ask your questions before they leave. Damage that's caught and pointed out on the roof that day is much easier to get on the estimate than something you notice two weeks later.
We cover this stage in detail in the insurance adjuster is coming: how to prepare. Read it before inspection day, not after.
Step 6: Understand What Comes Back
After the inspection, the carrier sends an estimate, which is their written scope of what they'll pay for. Two things tend to surprise first-timers. First, the first check is usually less than the estimate total. On an RCV policy, the carrier typically pays actual cash value up front and holds back the depreciation until the work is done. That's how it's set up, not a mistake. Second, the estimate is a starting point. If line items are missing, like flashing, dented vents, or code-required items, the supplement process exists to address that with documentation.
The 5 Mistakes I See First-Timers Make Most
- Waiting to file. Every week of delay gives more room to question whether the storm caused the damage.
- Making permanent repairs before the inspection. Replacing the roof before anyone sees it erases the evidence the claim rests on. Mitigate, don't renovate.
- Throwing away "minor" evidence. The dented gutter and the granules piled at the downspout are small on their own, but together they tell the storm's story.
- Signing paperwork you don't understand. Assignment-of-benefits forms, contingency agreements, anything a door-knocker hands you on the porch: read it, take a day, and never sign under time pressure. Our piece on storm chasers vs. local roofers covers the red flags.
- Treating the first estimate as the final word. Review it, compare it to what's actually on your roof, and follow up in writing on anything that's missing before you agree it's complete.
The homeowners whose claims go smoothest usually aren't the ones who argue the loudest. They're the ones who document carefully, keep things in writing, and follow up on every gap. That habit starts with the filing call.
This article is general education about how claims typically work. Every policy, carrier, and state is different, and nothing here is legal advice or a promise about how your claim will turn out.
Want the whole process, step by step?
The Roof Claim Playbook ($27) walks the full claim from filing to final payment: what to say, what to document, how to read the estimate, and how to follow up when the first offer comes up short. It's written from an adjuster's side of the file, so you know what the other side is looking at.